
Garlic Planting Guide
Garlic is universal - it’s in every cuisine around the world. Mild or spicy, pungent in whole cloves at KBBQ, or mellowed in a confit, candied or roasted, I love garlic everything. This is why we end up growing so much of it every year, the garlic we don’t eat we end up dehydrating and turning into a pantry staple. It’s also very easy to grow, so why aren’t more people growing their own? I don’t know that answer, but if you’re here - you’re probably thinking about growing yours!
When to plant your garlic outside
Garlic is almost always planted in the Fall for a late spring to early summer harvest. Depending on the variety garlic can take 8 to 10 month to grow, and does need a period of vernalization to form bulbs. While garlic is frost hardy it should be planted 4 to 6 weeks before your first hard freeze, this will allow the cloves to establish roots before forming a head. If you need to delay planting your garlic you can store whole bulbs (do not separate into cloves) in a cool, dry place with plenty of ventilation, avoiding direct sunlight. A mesh, burlap or open paper bag is ideal to allow airflow. Do not store your garlic in the refrigerator, as this will promote early sprouting.
Softneck Garlic
Softneck garlic are known for their namesake, they have soft flexible stems. These varieties can grow in both Northern and Southern climates, but it is ideal for areas with more mild winters, like for those of you in zones 9 + 10 because it does not require a cold period to form a bulb. Softneck varieties also mature faster than hardneck garlic, and if stored properly (like in a garlic braid) it can keep for up to a year. It’s longterm storage ability is a huge benefit for many.
Silver White
Sicilian Artichoke
Inchelium Red
Nootka Rose
Hardneck Garlic
Hardneck garlic is known for having more complex and bold flavor profiles. Hardneck varieties do require vernalization, so they are better suited for cold-winter areas. With proper cold cold exposure hardneck garlic will produce scapes in the spring. Garlic scapes are a delicacy, they are tall, tender green stalks with a mild and floral garlic flavor. We grow hardneck garlic specifically for scapes. Hardneck garlic has a much shorter storage life typically keeping for 4 to 6 months. While hardneck garlic isn’t recommended for areas that don’t see frost in the winter, you can place bulbs in the fridge for 40-45 days before planting out for a more successful harvest. You can find some hardneck varieties that don’t require vernalization, however most do. For those that do, without proper winter chilling you may get garlic that hasn’t produced a bulb or the bulb may be stunted.
Elephant
Montana Zemo
Majestic
Shandong
Blossom
Music
Chesnok Red
German White

Growing Conditions
Garlic thrives best in compost rich, well draining soil. You will want to keep the soil moisture consistent, without allowing it to become too soggy, especially right after cloves have been planted. You will want to decrease water as you get closer to harvesting so the outside wrapper around the bulbs can have time to dry out a bit, this will help prevent them from rotting. If you live in an area that has poor draining soil and/or receives excessive moisture during the growing months you may want to exclusively grow your garlic in raised beds or containers. You can also use burlap row covers or a heavy mulch layer to reduce the need for watering while still keeping the soil moderately moist. Burlap will also help insulate the garlic and help prevent frost from pushing the bulbs to the surface.
Garlic requires full sun, but will tolerate part shade when interplanted with other crops. If needed, you can loosed the top layer of mulch in the Spring to allow shoots to more easily push through the surface. If you are in extremely cold climates and need to heavily mulch in the Winter, you might want to remove the top few inches of mulching to allow the soil to warm. Once shoots have established in the spring you can apply a high-nitrogen fertilizer, we like using blood meal - just scratch the blood meal into the soil surface and water in.

Garlic Scapes
Scapes are the tender green flower stalks that form on hardneck garlic in the Spring. Without adequate periods of cold exposure your garlic may not develop scapes. They are prized for their mild, fresh garlic flavor and versatility in the kitchen. They can be grilled, roasted, sautéed, or blended into a pesto or other sauces. Scapes should be removed from the plant before the flower head blooms, this way the plant focuses it’s energy on bulb development.
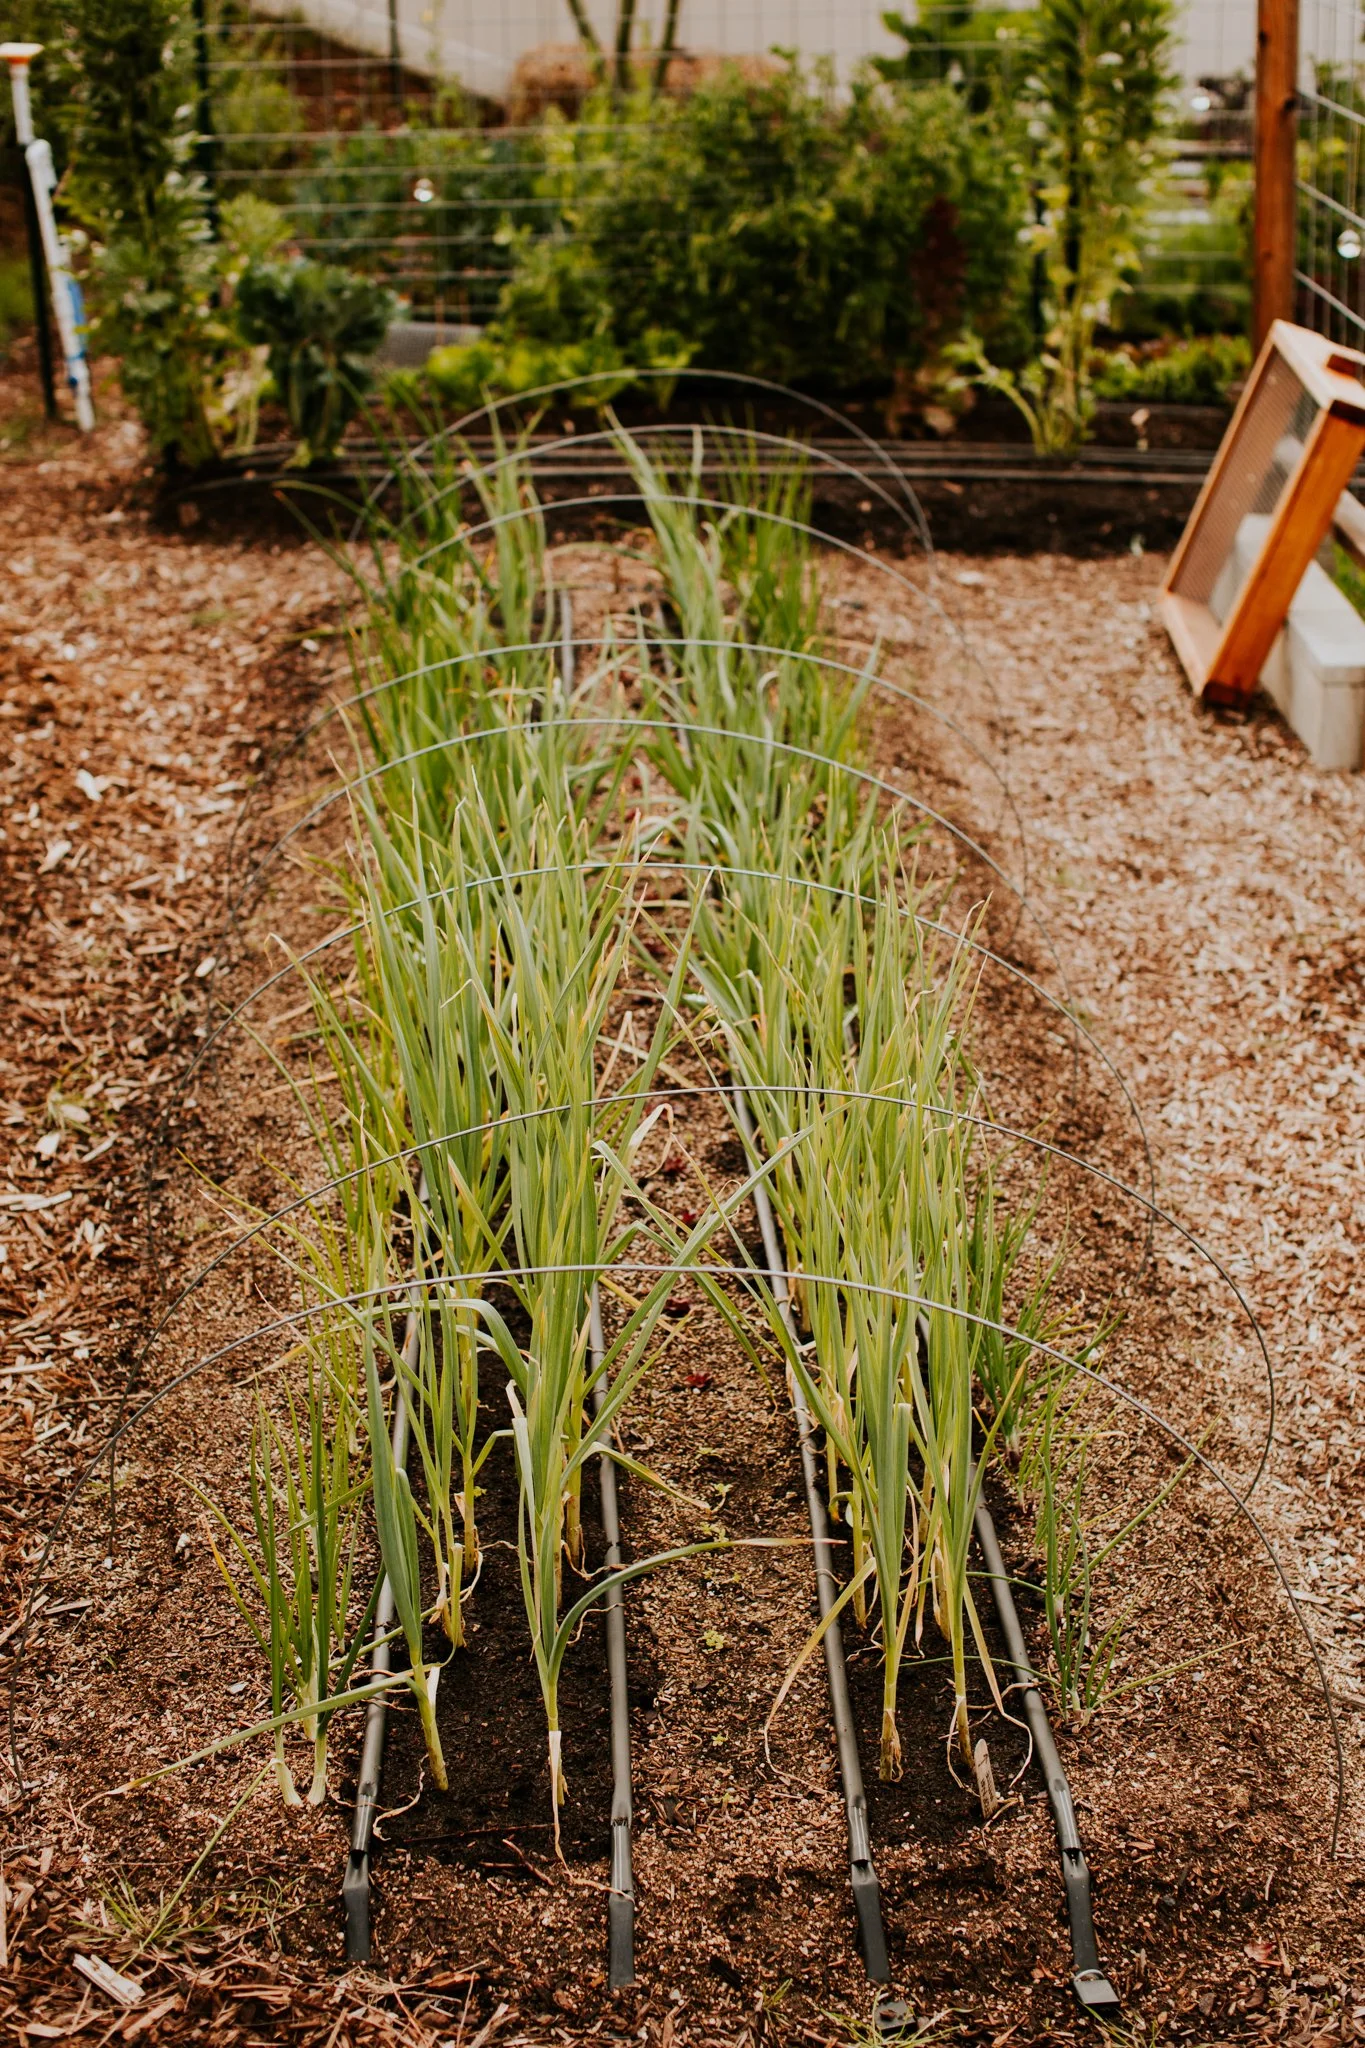
Planting your garlic
Once ready to plant outside, separate each individual clove from the head. We like to leave the papery skin intact on each clove, however if it falls off that’s okay - you can still plant that clove. Plant the cloves pointy side up (root side down) in a small hole about 2-3” deep. Space cloves 6-8” apart from each other and companion plants, with about 10-12” between rows. Tighter spacing can result in smaller bulbs and cloves.
For those of you in more mild winter zones who need to place your hardneck garlic heads in the fridge before planting, place them in the crisper drawer in October or November. After about 45 days you’ll want to take advantage of the cold climate in December or January and plant out at that time. Several layers of mulch may be required after planting to ensure the soil stays cool.
Harvesting
Once the bottom 4-6 leaves on the garlic have turned yellow or brown or the tops have begun to fall over, you can dig down into the soil to check the size of your bulbs. If you planted out in October this will typically be between June or July. Once leaves start browning you will want to start cutting waterings down to help the outer skins dry out, this will only take about a week or two. If you leave the ready bulbs in the ground too long at this point or don’t cut waterings down you might see early decay or rotting, and this will greatly reduce storage life.
To harvest, just use a digging fork or garden trowel to gently lift the bulbs out of the soil. Dig wide to avoid cutting into your bulbs. Brush off any loose soil and remove any damaged cloves, but leave the roots and tall stems attached.

Curing your garlic
You can use garlic immediately after harvesting, however if you want to store your garlic you will need to properly cure the bulbs. Curing garlic will also help improve its flavor! You can lay the bulbs (roots and stems still attached) on screens, allowing space between each bulb for good air circulation, or hang the bulbs in bundles of up to 20 in a warm, dry, very well ventilated area - avoid any direct sun or rain. Allow them to cure for 3 to 4 weeks until the roots and leaves have fully dried. Check regularly for any mold or decay due to moisture. If you live in an area with high humidity you might consider using a fan. Once the roots are fully dried they can be trimmed close to the base of the bulb, clean off any residual soil with a brush or by removing the outer most protective skin (remove as little as possible). Leave the tops of your soft neck garlic on if you want to braid it, braiding is easiest and most often done while the tops are still green. Otherwise you can trim the tops back to around 1/2”.
Properly stored garlic can be stored for months in a cool, dry, well ventilated place. A root cellar, pantry, or basement are great locations. For long-term storage make sure the garlic doesn’t get above 65F degrees or dip below 45F, which can cause the bulbs to prematurely sprout.
Use my Epic Gardening affiliate link for 5% off your garlic order!
Or use the code:WILDKIN5 at checkout